Hi, I wanna teach you the tecnique I used and improved in these years to make a notebook, very similar to moleskine model. The notebook we will make will have this dimension (10,2 x 14 x 1,2 centimeter), the original moleskine is alittle smaller (9 x 13 cm).
In this part we will make only the internal part of our notebook. We will have something like this

The Next Videos will guide you into this
-PREPARE THE PAPER
Choose 20 A4(21 x 29,7 centimeter) sheets, I use a kind of creamed paper, is the color of moleskine’s notebook. If you want striped notebook you must have striped sheets, the same for squared notebook or simple “white”. I often use photoshop to draw stripes or squares, cause I use different measures than the usual sheet on commerce.
-CUT PAPER
Take your stack of sheets and with a cutter and a ruler you have to cut it in 2 equal part. Liek showed in the video. You will obtain 40 sheets A5 format.
-BENDING
Now like in the first video you have tu bend sheets in the middle. Observe the tecnique I used in the video, this MY tecnique is best to have a perfect bending.
-COLLATE FOLIOS
Put 4 sheets one into other like showed in the image here posted. You will have 10 stack everyones composed of 4 sheets. put all the stacks togheter. Ones upon the other.
-MARK SPINE
For this part you will need 2 big clips, like in the photo, or a little press (like the ones I showed in the second video) 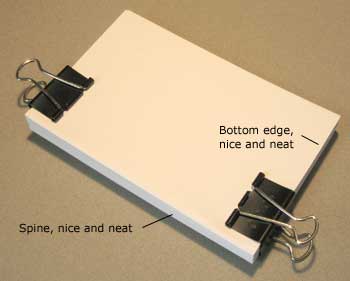 .Gather your stack of signatures and once more jog the bottom and spine edges to make them nice and neat. Using your binder clips clamp the top and bottom of the stack as shown. Unless you are perfect in your cutting you will notice the top edge is a little jagged. Don’t worry about it, we’ll fix it later. Measuring from the bottom edge of the spine mark 1,8 cm on one of the signatures. Place another mark at 5,4 cm , 7,2 cm and 9 cm from the bottom. Then mark each signature so you have a dot on each spine. These will serve as your guides when punching your holes.
  You can faintly see the dots in the photo. Don’t watch the measure showed in the photo, I’ve found it on the web.
-PUNCH HOLES
Remove the binder clips and place your stack to the side of your work area. Open one of your signatures and place it on the edge of something you don’t mind putting holes into (I use the edge of my drawing table which is protected by Borco). Be careful to keep the spine together.  This can be tricky (especially if you use the second method below to make your holes). It’s important to keep the spine together so the holes pass through the edge of the fold, not further into the page. You’ll also want to pay attention to keep your bottom edge nice and neat. Using your stabbing instrument of choice push through all six pages. The holes should not be much larger than the needle you’ll be using later.
Even if you’re careful and you’ve hit the mark on the outside of the signature when you look on the inside it can sometimes be a little off. While it won’t hurt the notebook, you might not like the way the thread shows on the inside of the pages when the book is finished. The more notebooks you make, the better you’ll get.
An alternative way to punch the holes is open the signature all the way and place it on a piece of cardboard and punch away.  While this method minimizes the possibility of the holes missing the spine on the inside pages, watch the spine as you open the signature because the pages have a tendency to slip out of alignment.
-SEW SIGNATURES
Pick up one of your signatures and open it a little to the center. Starting at the bottom set of holes, push the needle through from the outside to the inside of the spine pulling all but two inches of thread through. We’ll tie this later. Then from the inside push the needle through the next set of holes pulling all the slack outside. Then to the third set of holes, again push the needle through to the inside pulling all the slack. Lastly the fourth hole, out goes the needle and thread. The illustration does a much better job of explaining this (the grey lines are inside the signature).

Pull the thread until all the slack is out of the signature while holding the short piece of thread at the bottom. Tip: when you tighten the thread pull in line with the spine instead of at ninety degrees to the spine. This will minimize tearing of the holes.
Place another signature next to your first one and push the needle into the corresponding top hole of the second signature. Pull the thread somewhat taught then push the needle out of the next hole of the second signature and then into the corresponding hole of the first signature. Then out of the third hole of the first signature and then into the corresponding hole of the second signature. Then out of the last hole of the second signature. The illustration shows this new path.

I’ve noticed two things that happen to me when sewing signatures: I feel like I have only thumbs and I lose track of where I started. Here’s a method I used in the beginning that made things a little easier. While I don’t use it now, I thought it might be of some help. Just move the clips to the adjoining sets of pages as you add each new signature.

Okay, where were we? You should have two pieces of thread (one short and one long) hanging from your two sewn signatures. Tie a square knot using these two pieces of thread. I’ve supplied a diagram for those who haven’t tied one. Be sure to get the first part of the knot tight before tying the second part; you want your signatures close together. Don’t hesitate to triple tie it if you want. Don’t cut the excess thread yet.

Place your third signature next to the first two and sew in and out like you did before, making sure to sew into the second signature.Here’s a diagram of how the sewing goes throughout the eight signatures. Black numbers represent the needle going into the spine and the red numbers represent the needle coming out of the spine. 1 is where you started, 10 is where you tied the square knot, and you should now be at 16 wondering what to do next…

This is called a kettle stitch and it’s used to tie each new signature to the one before it. Use this stitch each time you exit the last hole of each signature. Here we’re tying the third signature to the first two when exiting number 16. You’ll also tie a kettle stitch for 22, 28, 34, 40 and 46. Tip: remember to pull the thread tight, drawing your signatures together, before tying the kettle stitch.

Here I’m about to tie a kettle stitch. Thought you might like to see a photo too. Yeah, I know, it’s not exactly the same direction as the illustration but it’ll still hold the signatures together.

When you exit the last hole (46) in the last signature finish off with two half-hitches as illustrated. Again, you can add more if you feel you need them. Now trim the tread to about an inch in length. Do the same for the piece that you left when you started on the first signature.

This is what it should look like when you are finished sewing your signatures. Well, almost; your threads will end on the same side, this is a photo of a seven signature notebook so the threads end on opposite ends.
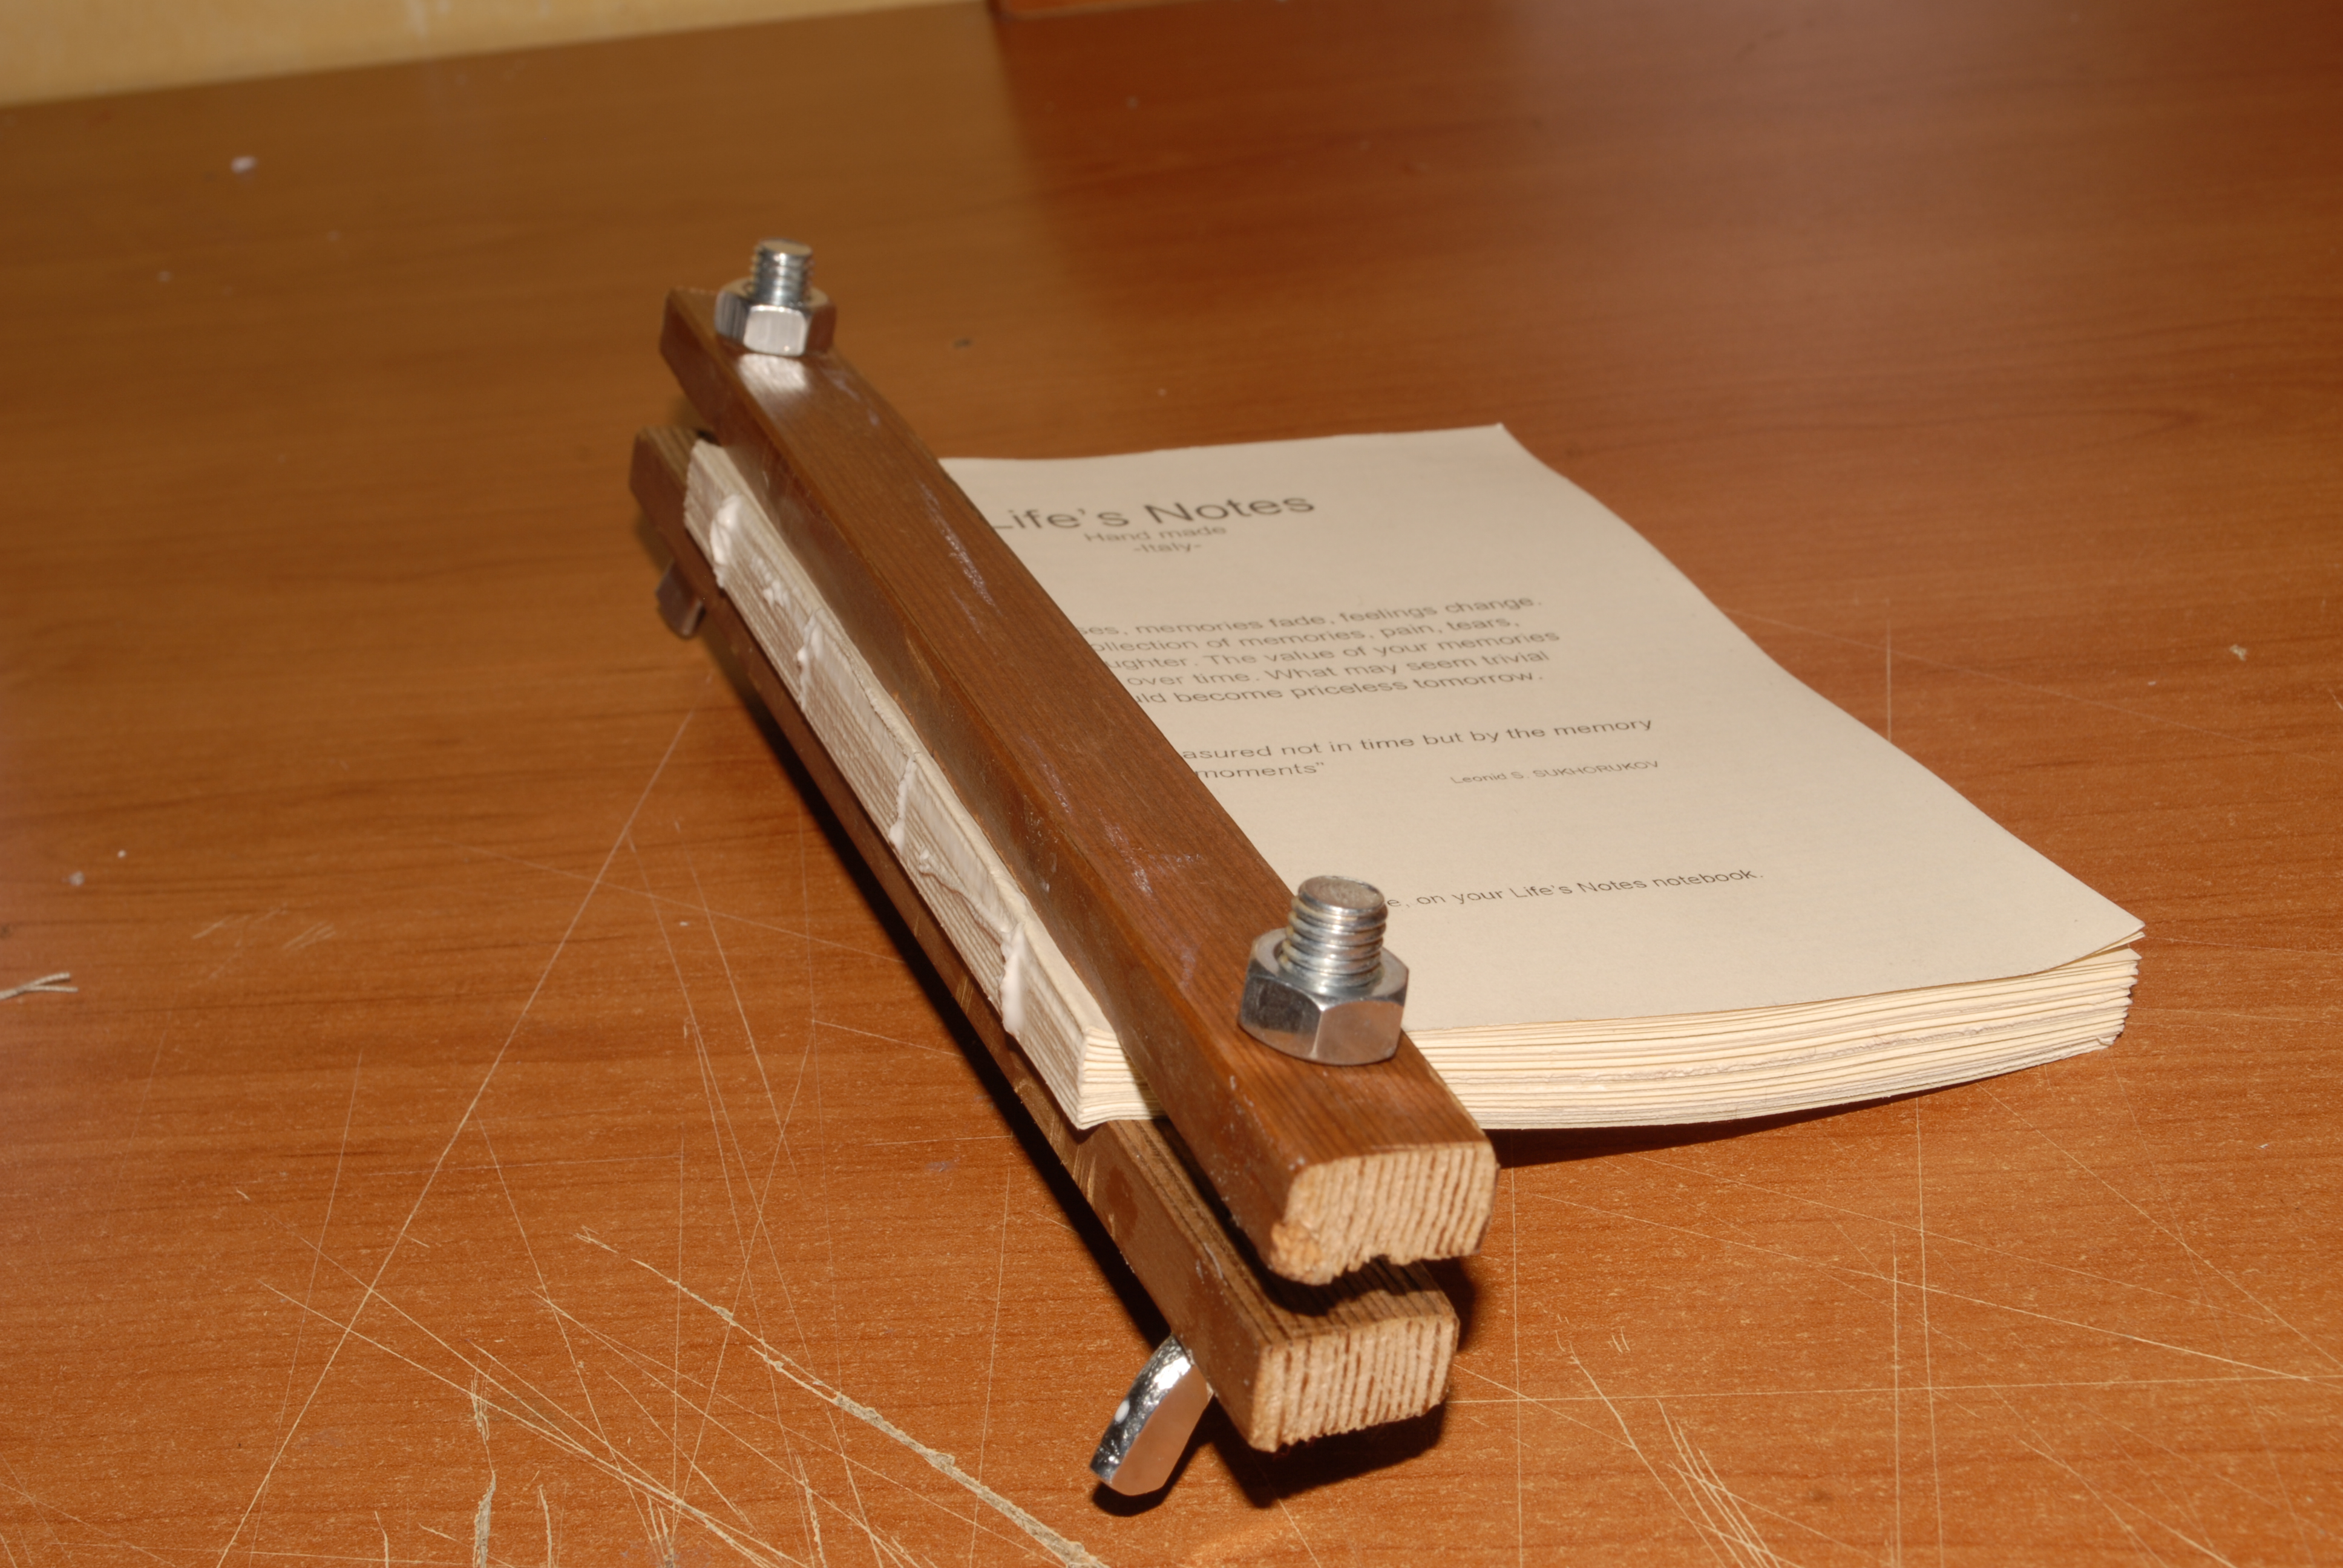
-GLUE SIGNATURES
Put the stack in the press and put were there are the seams only a little and an other little over the entire length of the sheet.
